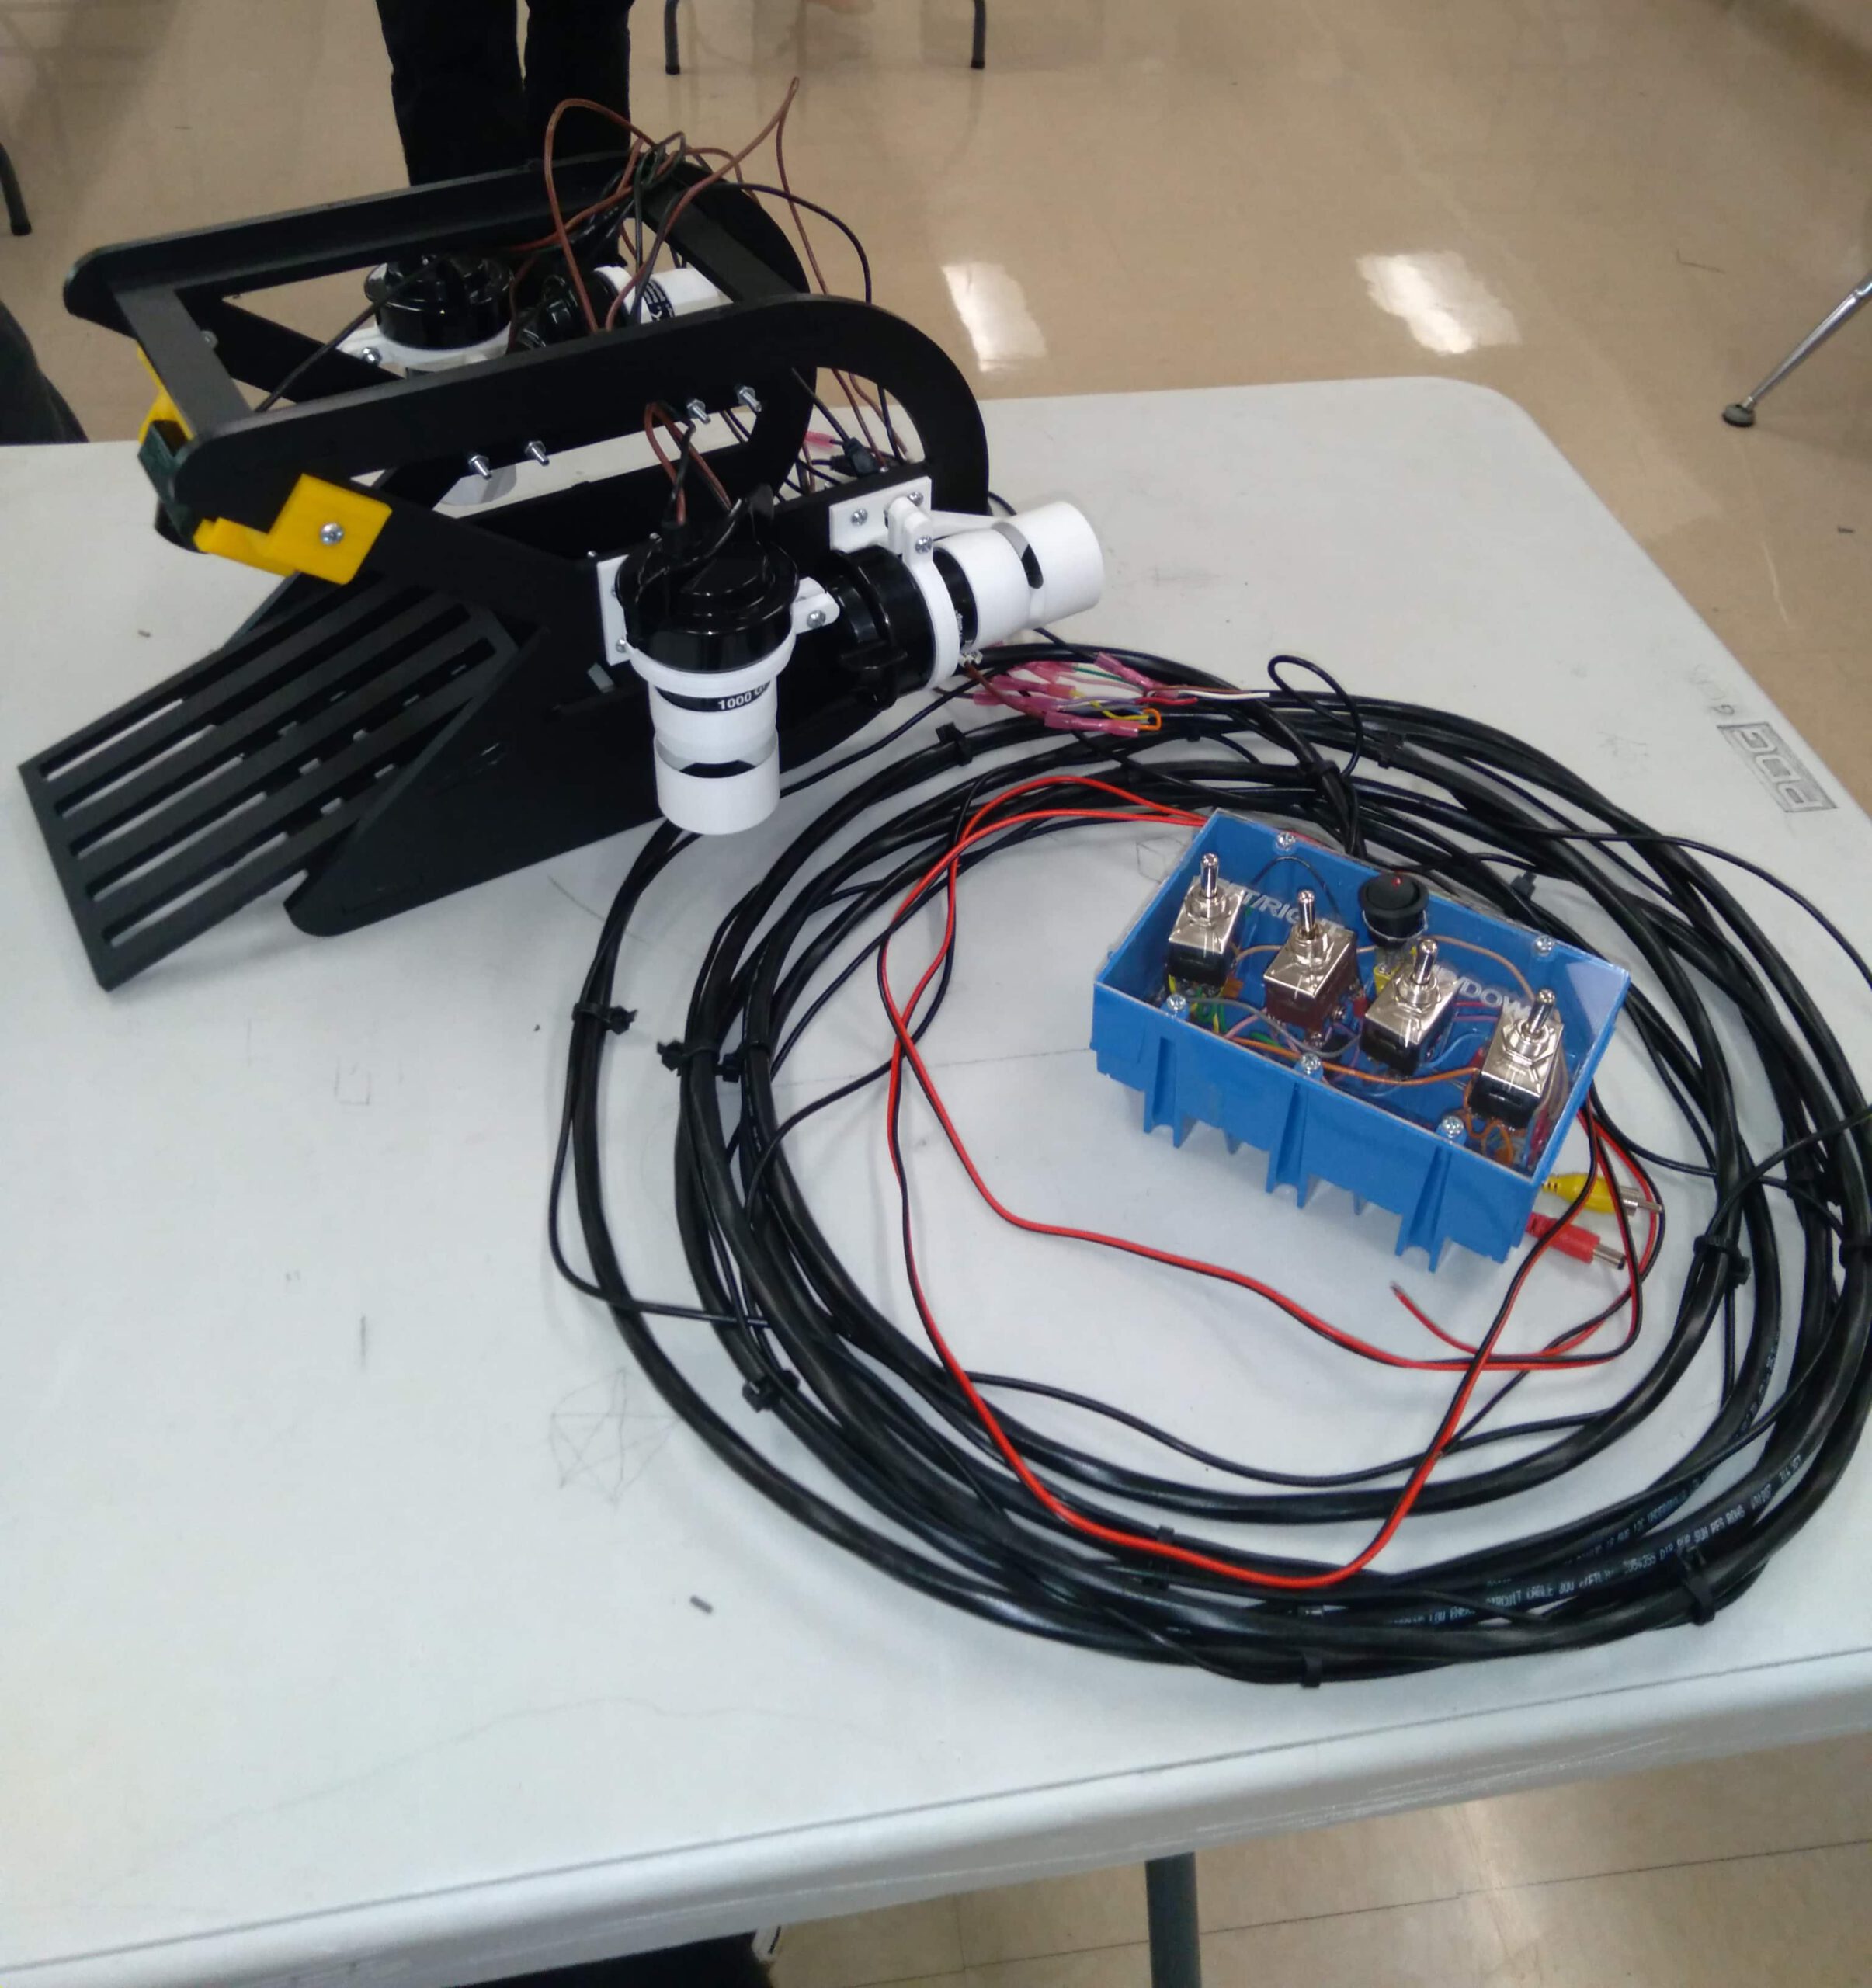
Remotely Operated Vehicle

Class: Intro to Engineering and Design

Brainstorming and Research
- I studied existing designs and brushed up on underwater robotics principles, set my budget, and assessed what resources I had available.

Initial Design Phase
- I sketched out a basic layout and decided where components would go, chose my main materials, settling on a mix of acrylic and 3D-printed parts, and selected core components like motors, cameras, and sensors that I liked.

Detailed Design Work
- I created 3D models of the each part and planned out the internal layout for all my components and wiring.

Prototyping Stage
- I 3D printed my custom parts and started assembling things, tested individual components to make sure they were waterproof, and conducted buoyancy and balance tests on partial assemblies.

Electronics and Control System Setup
- I designed my power distribution system, set up an Arduino as my control board, and wrote basic programs for movement and sensor functions.

Assembly Process
- I constructed the main hull and attached all the external bits, installed the internal electronics and did all the wiring, and carefully sealed every opening and cable entry point.

Testing and Iteration
- I started with pool tests to check basic functionality and waterproofing, then moved on to open water tests, gradually trying more challenging conditions. I identified and fixed issues, constantly refining my design.

Documentation and Safety Prep
- I wrote up operation manuals and maintenance guides, developed safety protocols for deploying and recovering my ROV, and documented my entire design process for future reference.